
Updated 04/10/2021
First thing we need to do is run updates, so login as root.
sudo apt-get update
Second step is to install apache2
sudo apt-get install apache2
Test apache2 server
To see if apache2 was successfully installed
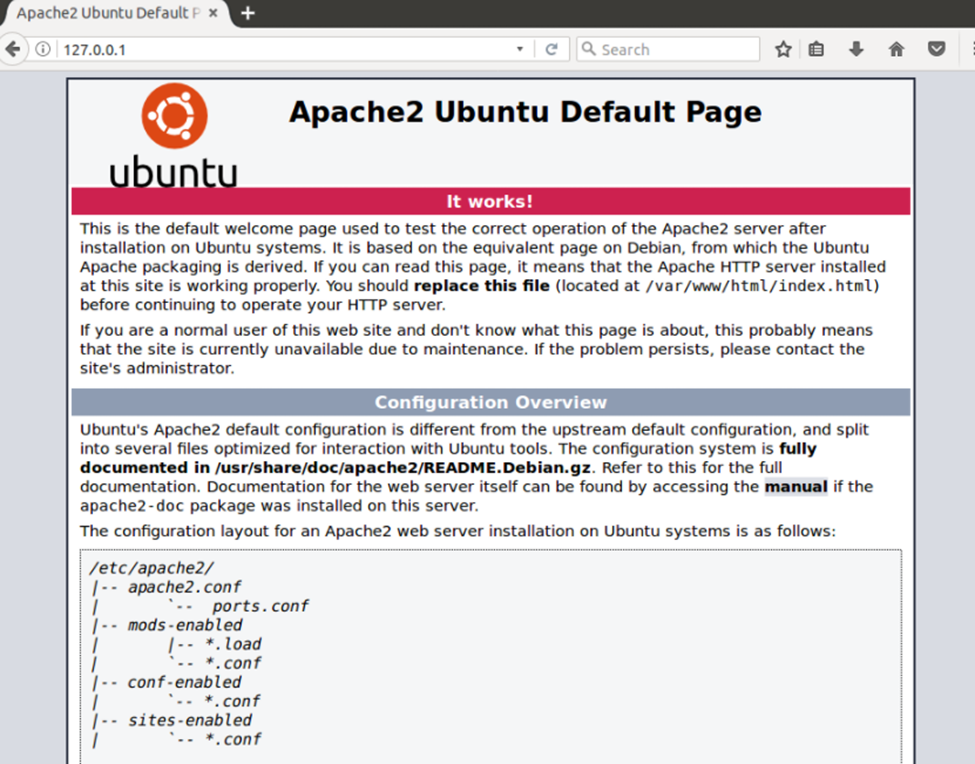
Open web browser and type in 127.0.0.1
Note to view IP address and local loop back address run ifconfig
You should see Apache2 Ubuntu Default Page
“It Works!”
This maybe the best time to go over with you stopping, reload, and starting apache2 server.
NOTE
To start, reload or stop apache2 server.
There are couple different methods to doing this. I like and want my students to use;
sudo service apache2 stop
sudo service apache2 start
sudo service apache2 reload
Note this is different for other OS so you should look up those methods that work for you Linux OS.
Third Step is to install MySQL Server
sudo apt-get install mysql-server
It will ask you for your root password. THEN ask you to set a root password into MYSQL! SAY N to keep the current root password or Y to change the password.
I recommend that my students take No.
Now after install mysql is completed it time to test to see if it’s work.
mysqladmin -u root -p status
Enter root password.
You will see uptime, Threads, Questions and so on.
Success!
I did notice that the step to installing MySQL have streamline since ubuntu 14.0 much faster install in 16.0
Forth Step install PHP
sudo apt-get install php libapache2-mod-php
By default, the web site directory path is /var/www/html
With that in mind, create and save info.php to html
To do this open and create new document
<?php
phpinfo();
?>
Note to create this you can use Web Editor such as Bluefish or use vi editor
vi /var/www/html/info.php
Remember to save it to the html directory as info.php (not info.php.php)
Now to test it and see if PHP is working
Go to http://yourserveripaddress/info.php
This is what you should see:

What if it fails to work!
You may be getting a message that you don’t have permission to the directory var/www
You can see the permission of /var/www has, by this command
ls -l /var/www
You will see like this (this only for example): (That’s Lower Case L not 1.)
Again, If there is a permission issue when trying to view the info.php complete the following:
Run
ls -l /var/www
to view who currently has rights to that directory.
To add yourself as having rights to that directory do the following:
sudo adduser yourusername www-data
After you completed this task you need to give yourself “R“ rights permission and ownership to your name.
sudo chmod -R 775 /var/www
Look again to see your user name is added to the group
sudo ls -l /var/www
If you see your user name… success!
How to install Bluefish Web Editor Ubuntu 14.04
Related link: https://cit101blog.wordpress.com/2018/05/25/cannot-get-the-php-to-display-using-wamp/

You must be logged in to post a comment.